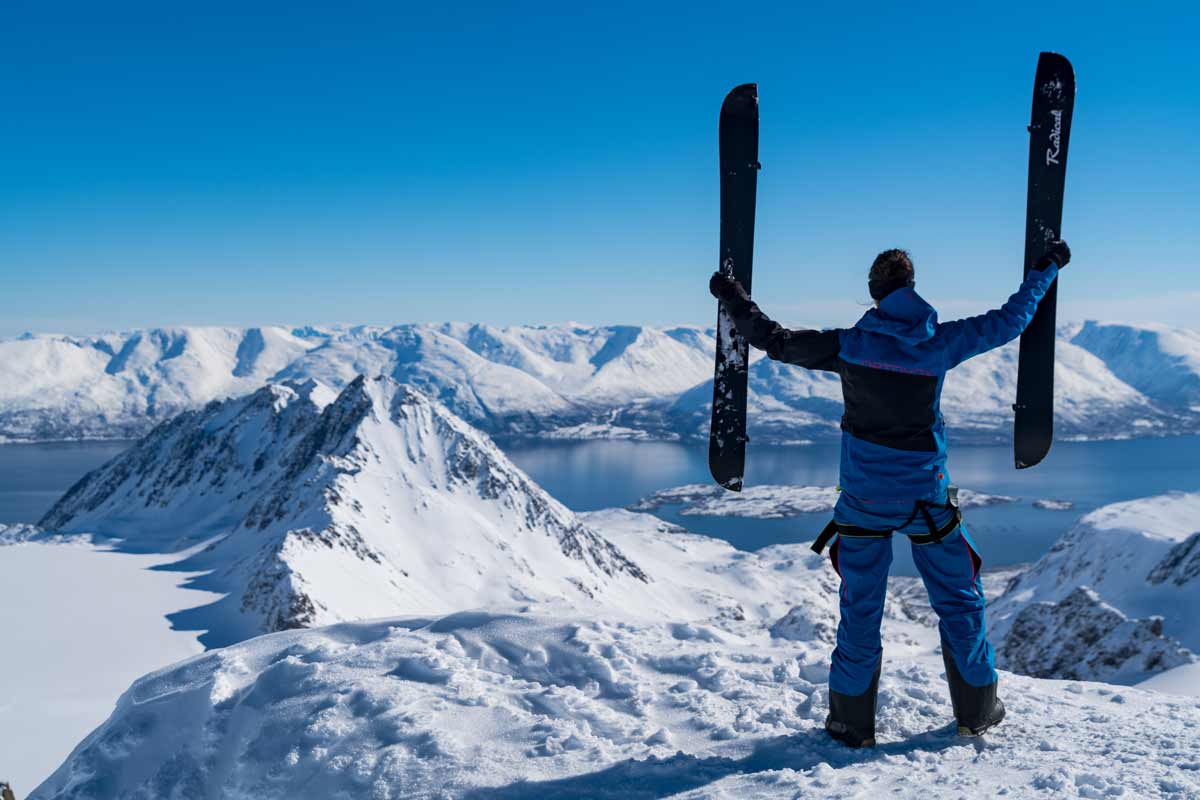

Patrick Stauber, 38, Managing Director at Radical, full-blooded splitboarder and mountain enthusiast
Congratulations! You are interested in the youngest and coolest of all winter sports: splitboarding. I'll summarize five points that are important for your first splitboard tour.
Item 1: Learn off piste snowboarding
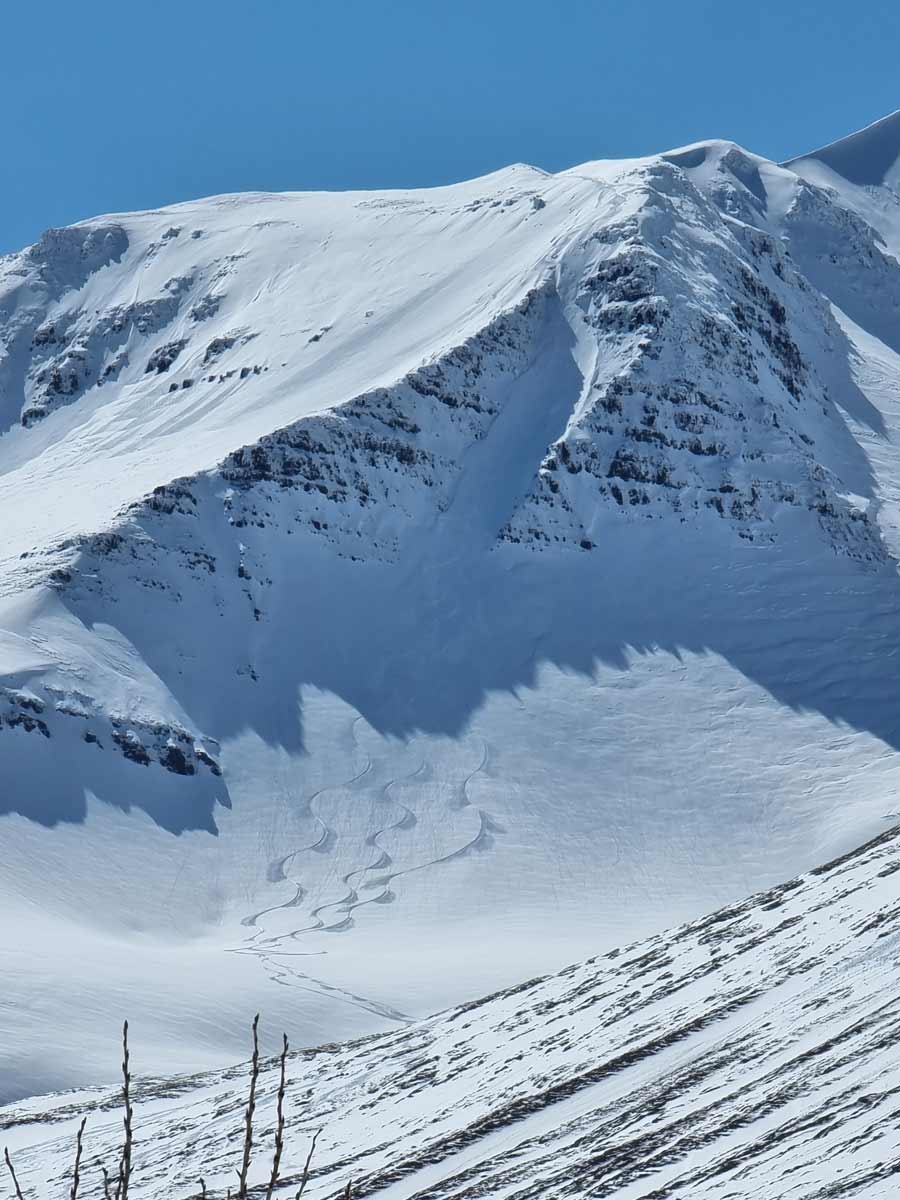
Powder snow and blue skies, that is of course the ultimate. But the reality is not always so beautiful. And you rarely encounter powder snow from the summit to the valley. The snow conditions are constantly changing. And with it the demands on the snowboarder; powder, slush, wind-pressed snow, ice slabs, frozen avalanche cones, etc. - a skilled winter sportsman can adapt to these conditions.
It is difficult to give a blanket answer to what exactly you need to be able to do in order to be able to cope with a downhill run in open terrain. But there are some things that you can easily practice in advance on the slopes or off them: Uphill and downhill unloads, off-piste jumps, flowing off-piste runs, cut turn shapes, advanced powder technique, taking advantage of backcountry elements, and tactical behavior in the backcountry. Learning under professional guidance leads faster, safer and less stressful to the goal. There are enough providers of freeride or snowboard lessons. An education at the SSBS (Schweizer Schneesport Berufs- und Schulverband) is of course also highly interesting.
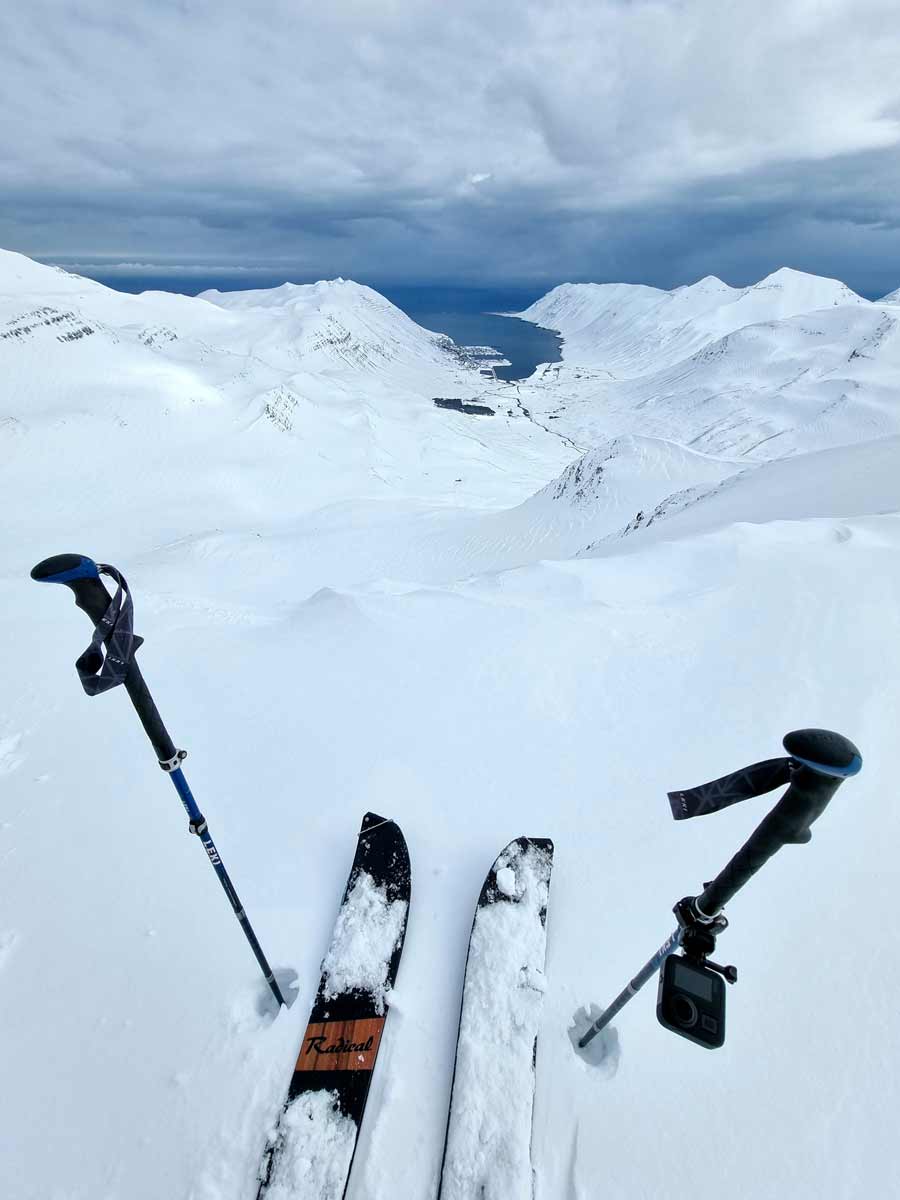
Item 2: Get good Material
There is nothing more troublesome than when the equipment does not deliver what it promises. In the backcountry, there is usually no help in useful proximity. "Stinginess is cool when buying a splitboard" is not the right approach for carefree tours. There are now good manufacturers of splitboards and binding systems. Find out about suitable material for you from friends, specialist dealers or on the Internet.
An important factor that is often forgotten are the shoes. There are specific splitboard boots, but also conventional snowboard boots are good for the entry into splitboarding. Pay attention to a good sole profile and a stiff lateral flex in the shoe. Important: A shoe that is too soft will not put pressure on the edges during the ascent. You'll slide sideways all the time and only get annoyed.
When it comes to climbing skins, in my opinion the systems with glue coating have proven best for splitboarders. They are very easy to maintain and adhere reliably even with several ascents in one day.
A backpack with avalanche transceiver (LVS), probe and shovel is mandatory. It is enormously important for the safety of all involved that you know how to handle these tools. To regularly attend an avalanche beacon course and to train the handling there, I strongly recommend.
Also useful are touring poles with a large plate, which can be stowed in or on the backpack to save space at the summit.
Your equipment should be regularly maintained and prepared for the selected tour. For this purpose, the material should be checked before each tour. Are the screws tight? Is the material complete and in good working order?
A little advertising on our own behalf: We at Radical have dedicated themselves to splitboarding with heart and soul. We are happy to advise you competently on a complete basic equipment.
A cheaper alternative to buying is renting the equipment. Try it out a few times before you invest in your own equipment.
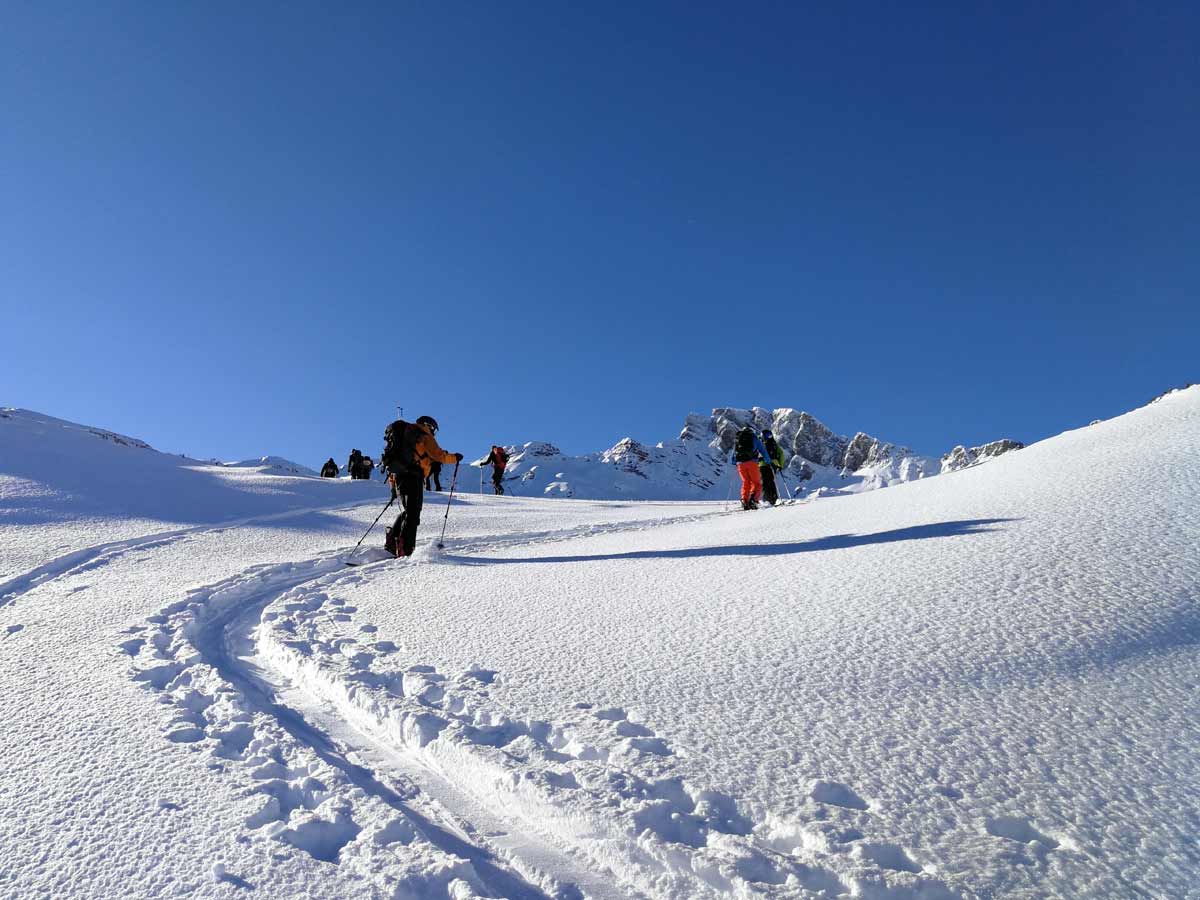
Item 3: Tips for the ascent
The first steps can be practiced optimally on a slope. Preferably at a marginal time and on a slope with little traffic, so that there is no accident with other participants.
Climbing with a splitboard is really fun when you can run at your personal rhythm throughout. Many people are confronted with the famous "hairpin bend". which is necessary on slopes of 30° or more. If you don't master it, you'll always get out of your walking and breathing rhythm when changing direction. Or even worse, stumble. Therefore, work on the correct technique. This can also be practiced perfectly on the flat or on a slope. Once you've got it right, you're well on the way to becoming a relaxed summit climber.
Practice disassembling and reassembling the splitboard at home in the warm - also the mounting and dismounting of the skins. It's often cold and windy at the summit. You save time, nerves and energy, if the handling already sits.
Make sure that the skins are glued to the base without air bubbles when mounting. Stroke with the hand several times from top to bottom, so that the coating holds optimally. The skin should be applied between the edges, if the edges are free, they will also hold optimally laterally during the ascent. When stripping, make sure that the skins are properly cared for, i.e. use the separating net for glue coatings and make sure that no dirt gets on the glue.
In splitboard walking mode, you swap the two halves of the board with each other, so the sides with the radius of the board face inward. The walking technique consists of "dragging" the toes over the ground and thus pulling the single ski over the entire surface of the ground. This is an efficient way to walk uphill, saving energy. With large and deliberate strides, you'll quickly gain many meters of elevation with moderate effort. When the terrain gets steeper, you have climbing aids (elevations at the heels; usually metal clips on the bindings) that you can activate. With these you need less effort when it gets steep. But the walking technique remains the same.
A common mistake is to give too much forward lean in the upper body while running. That is, you lean forward and have the entire weight on your toes while running. The climbing skins are loaded incorrectly and you slip backwards. Try to keep your posture straight and upright even on steep climbs and distribute the weight over the whole foot. In the beginning, it helps to actively press the heels down while stepping.
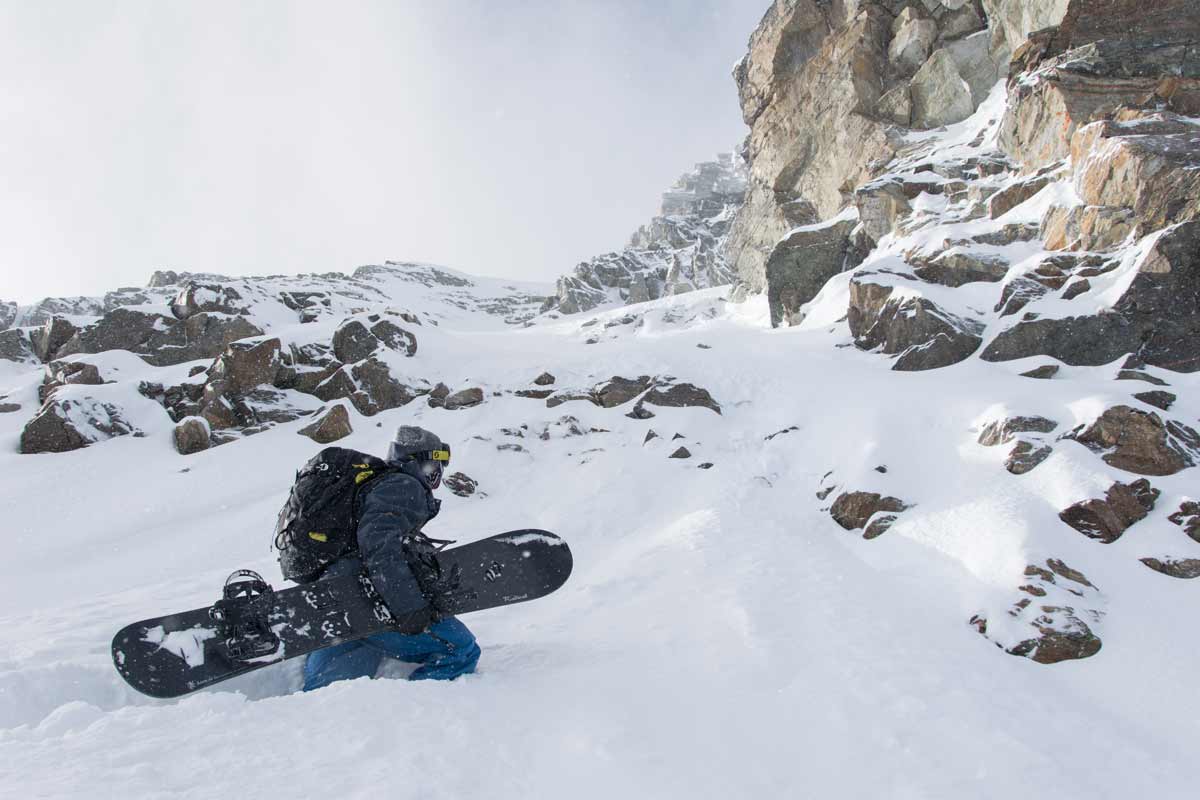
For splitboarders, crampons always belong in the backpack. These "extra prongs" are mounted when you have icy traverses ahead to give you extra grip. Mount them early enough on flat terrain, rather than too late on steep slopes, shivering and uncontrolled.
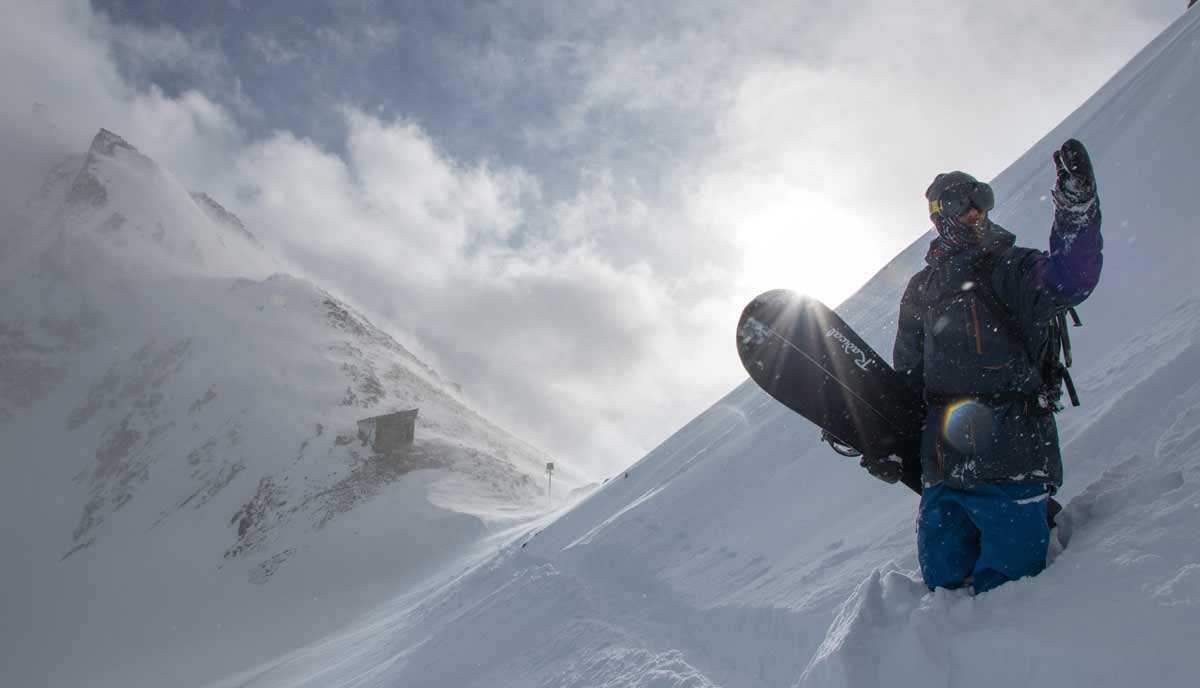
Finally, a mishap that happens to almost all beginners. As soon as you have reached the summit and want to convert your board from walk mode to ride mode: Make sure that you don't put the board halves with the base down on the snow after taking off the skin. You can imagine what happens; your buddies laugh, you jump. So always place everything non-slip in front of you.
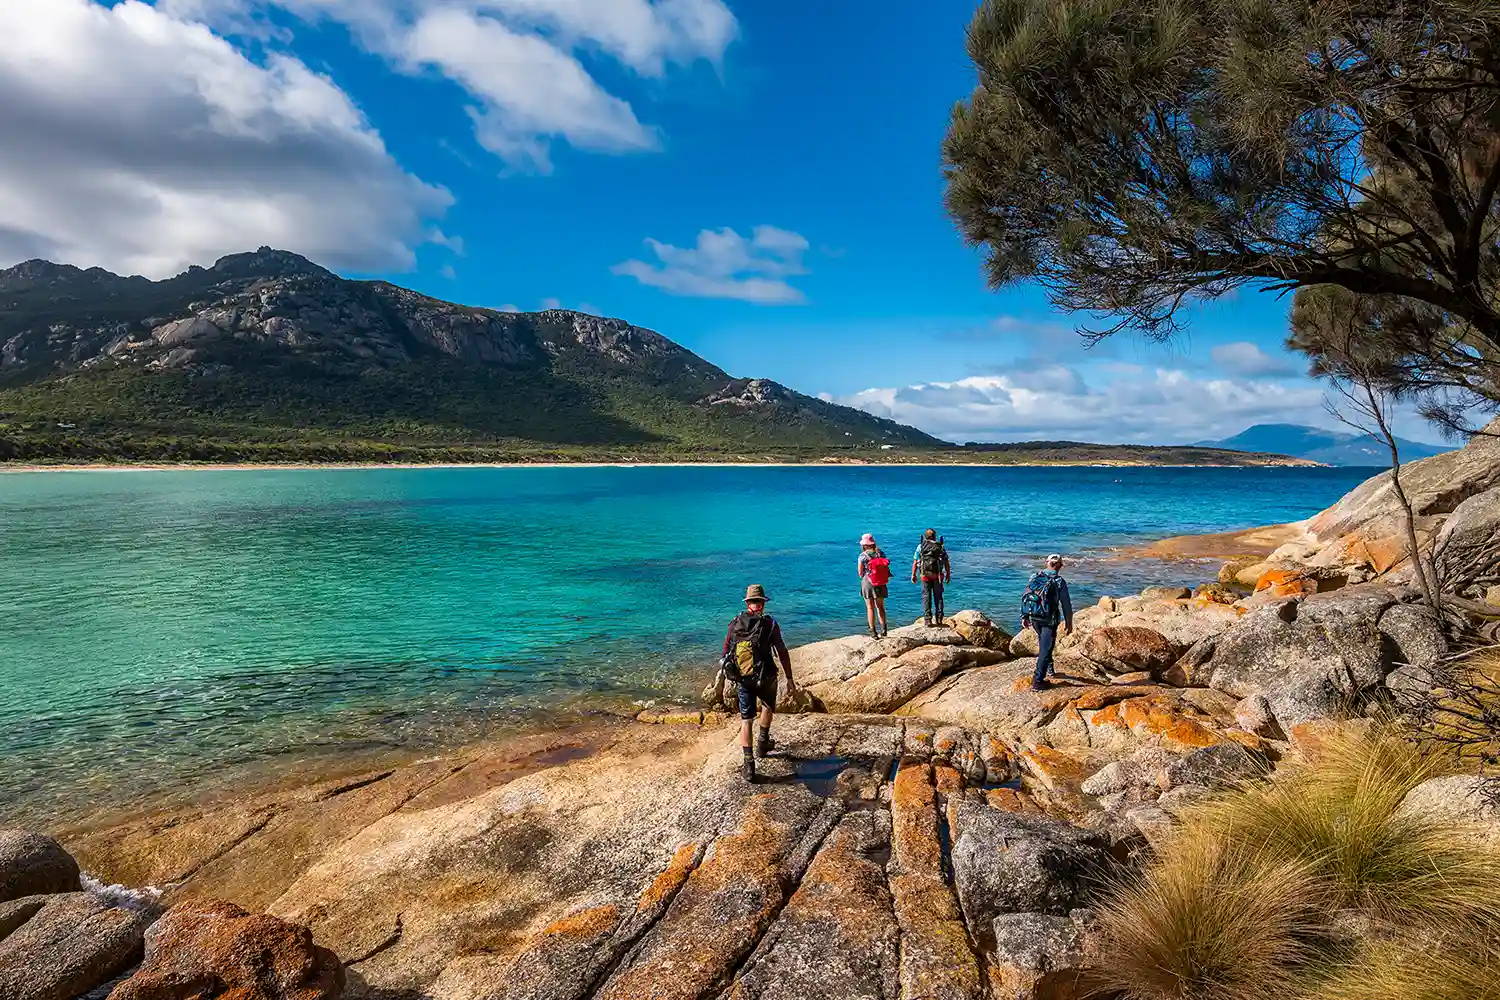
Point 4: The choice of tour
It is your first splitboard tour, do not overtax yourself. It should be pure pleasure and a great experience. If you have tourers in your circle of friends who want to introduce you considerately to the wonderful world of splitboarding, then go ahead. But don't get involved in something where you are always moving tightly outside your comfort zone.
A good way to get started is with professionally guided tours. At Radical, for example, you'll find a great selection of beginner tours specially tailored for splitboarders. With us, every guide is a full-blooded splitboarder himself.
Touring is a classic endurance sport. Starting out untrained leads in the best case to muscle pain the next day. It is also important to have enough reserves for the descent.
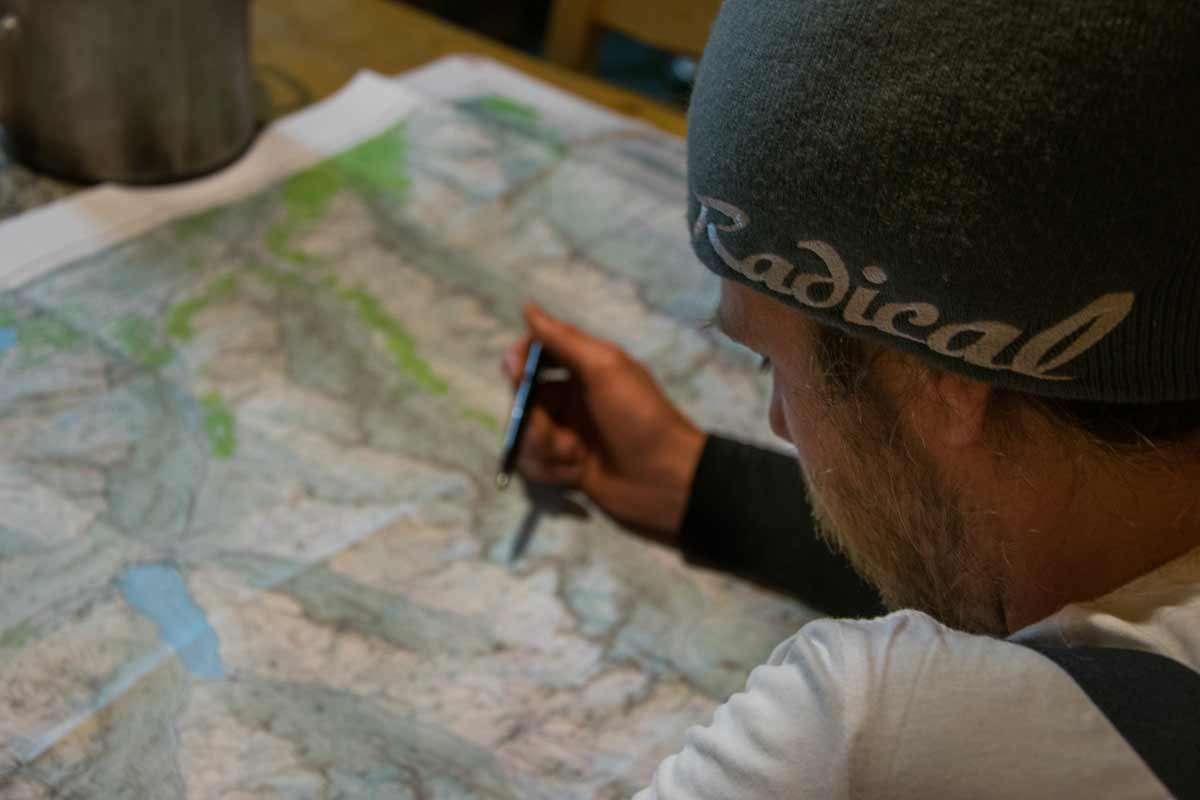
If you want to plan your own tour, you can find a lot of inspiration on the internet. A popular planning platform in Switzerland is the Whiterisk app or the Skitourenguru website. With Whiterisk you can get daily information about the current avalanche situation and also digitally draw your tour on a map. But beware: Tour planning requires some knowledge and experience and is not recommended for beginners.
Point 5: Safety on the mountain
If you are off-piste, there is an avalanche risk, whether you like it or not. There are a number of things to consider on the ascent as well as on the descent. The choice of terrain in which you move plays a decisive role if you want to get up and down a peak safely.
Reading" the mountains requires many years of experience. Basically, it's about finding the best way to the summit and back for the situation at hand. For this purpose, the slope gradient is used as an elementary reduction method for avalanches. It is essential to acquire this knowledge before touring independently.
An important part of planning is risk management. This consists of identifying, structuring and quantifying the partial risks of a process and estimating the overall risk - which, of course, can never be reduced to zero. The goal is to consciously deal with the greatest risks. On a tour, this requires various considerations, measures and activities on an ongoing basis.
But don't let that scare you off, through guided tours and courses you can gradually acquire this knowledge.
Conclusion
Splitboarding is a complex and highly exciting subject. Try it out, you will definitely not regret it. Use your head and you will only benefit. But beware: touring involves risks. These are hardly reasonably assessable for beginners. My recommendations:
- Improve skills: Ski in a wide variety of snow and terrain types, as well as on different slopes. Train the ascent, specifically the hairpin turns and traversing. These ascent and skiing techniques are great to practice in a ski area.
- First tour/materialJoin a professionally guided tour and rent all the equipment. Make sure you are well advised. The equipment for touring is more versatile and extensive than on the slopes.
- Professional competenceKnowing the dangers and their consequences is the key to safe touring. Gain experience, attend courses and learn from your guides.

