Image: unsplash.com © Marc Newberry
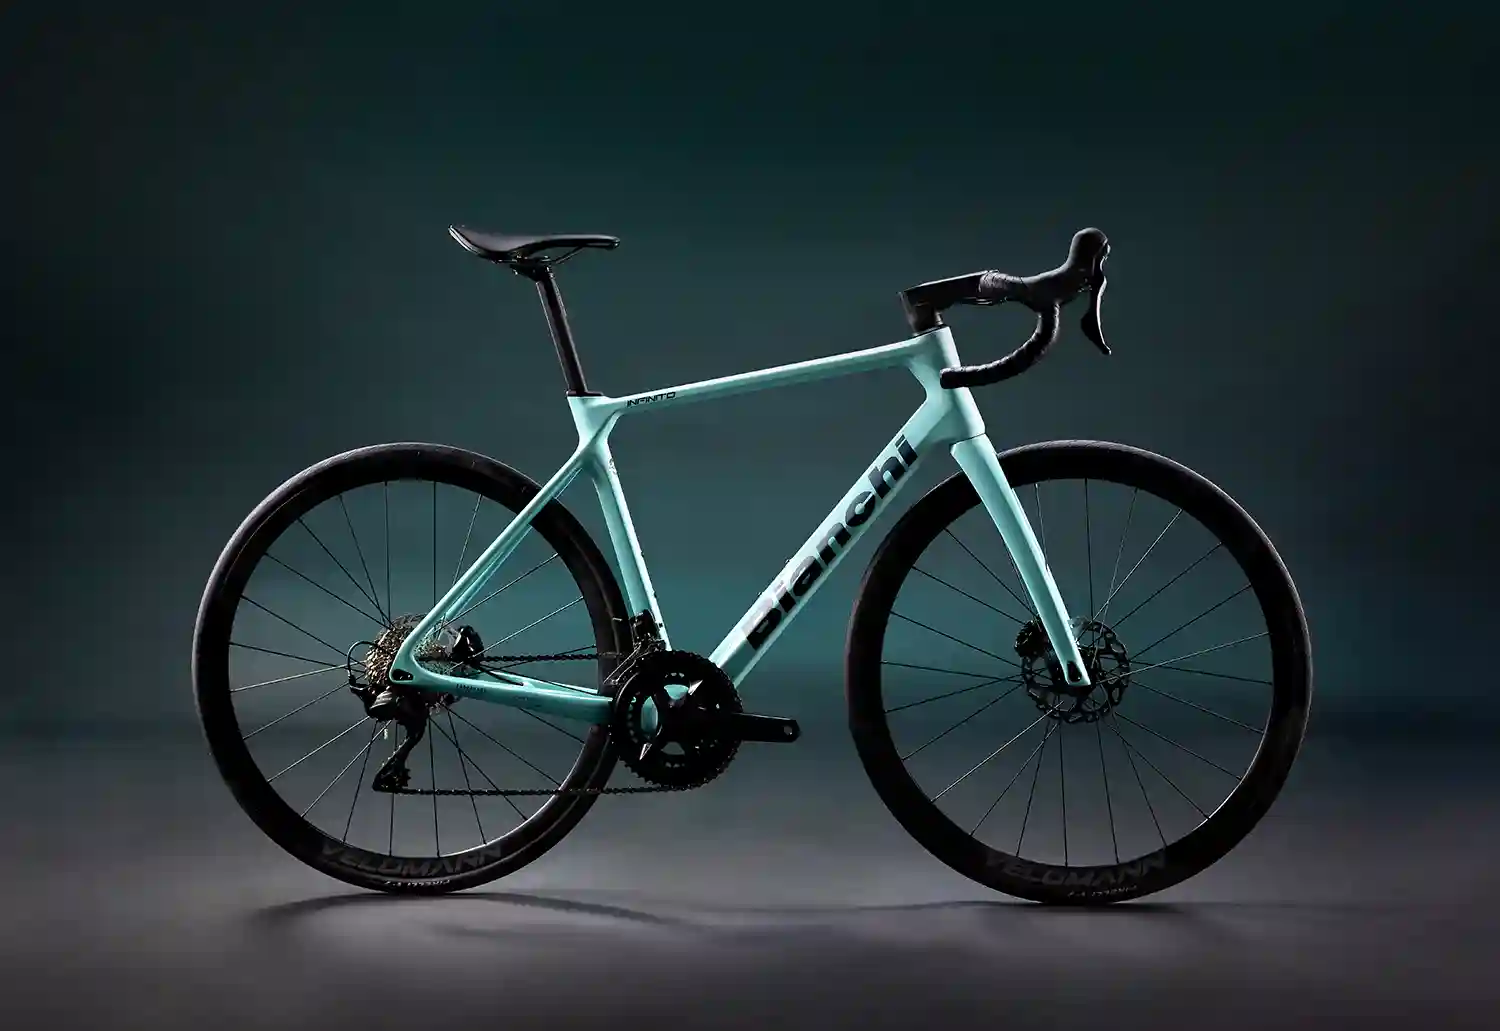
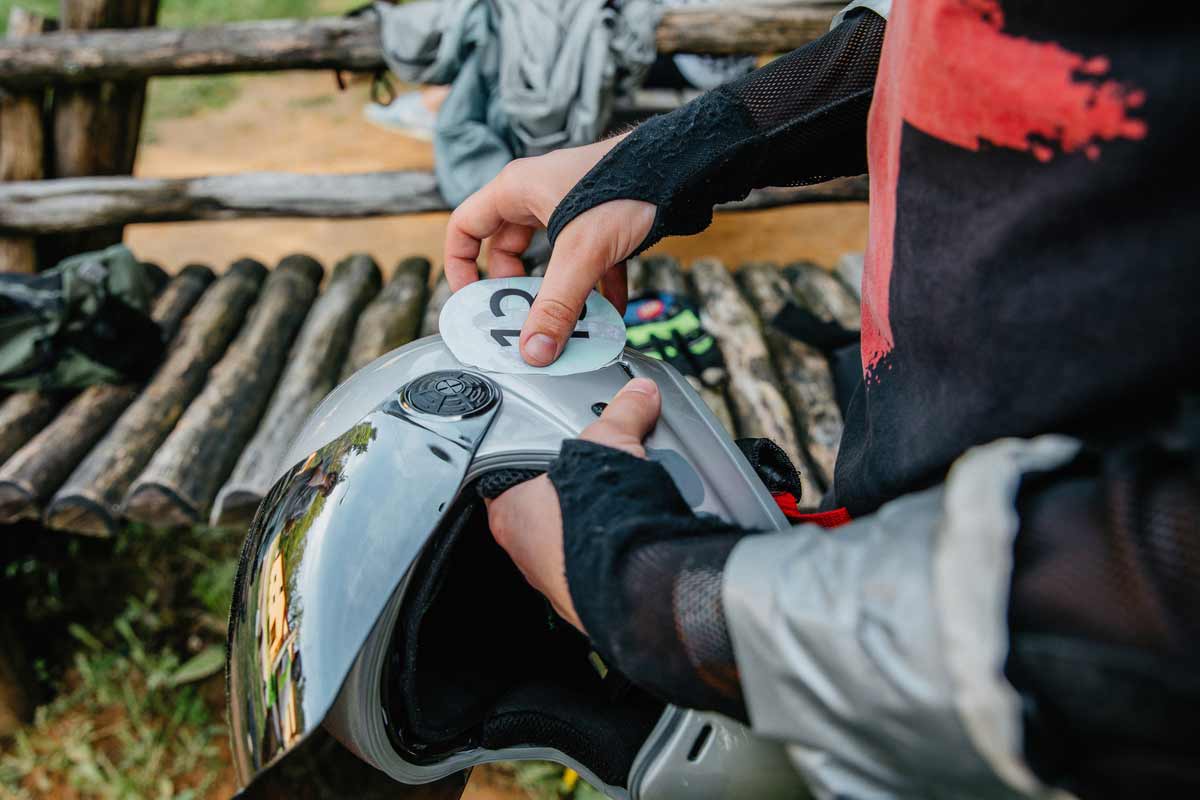
Whether it's a snowboard, an ergometer, a sports car, an enduro helmet or any other sporty helper: As good as these pieces often look in their standard state, they only become that much more beautiful for many users when they are customized. In this respect, Stickerbomb is one of the simplest and yet graphically most spectacular embellishment and personalization options.
Sticker bombing: from street art and Japan tuning scene to all over the world
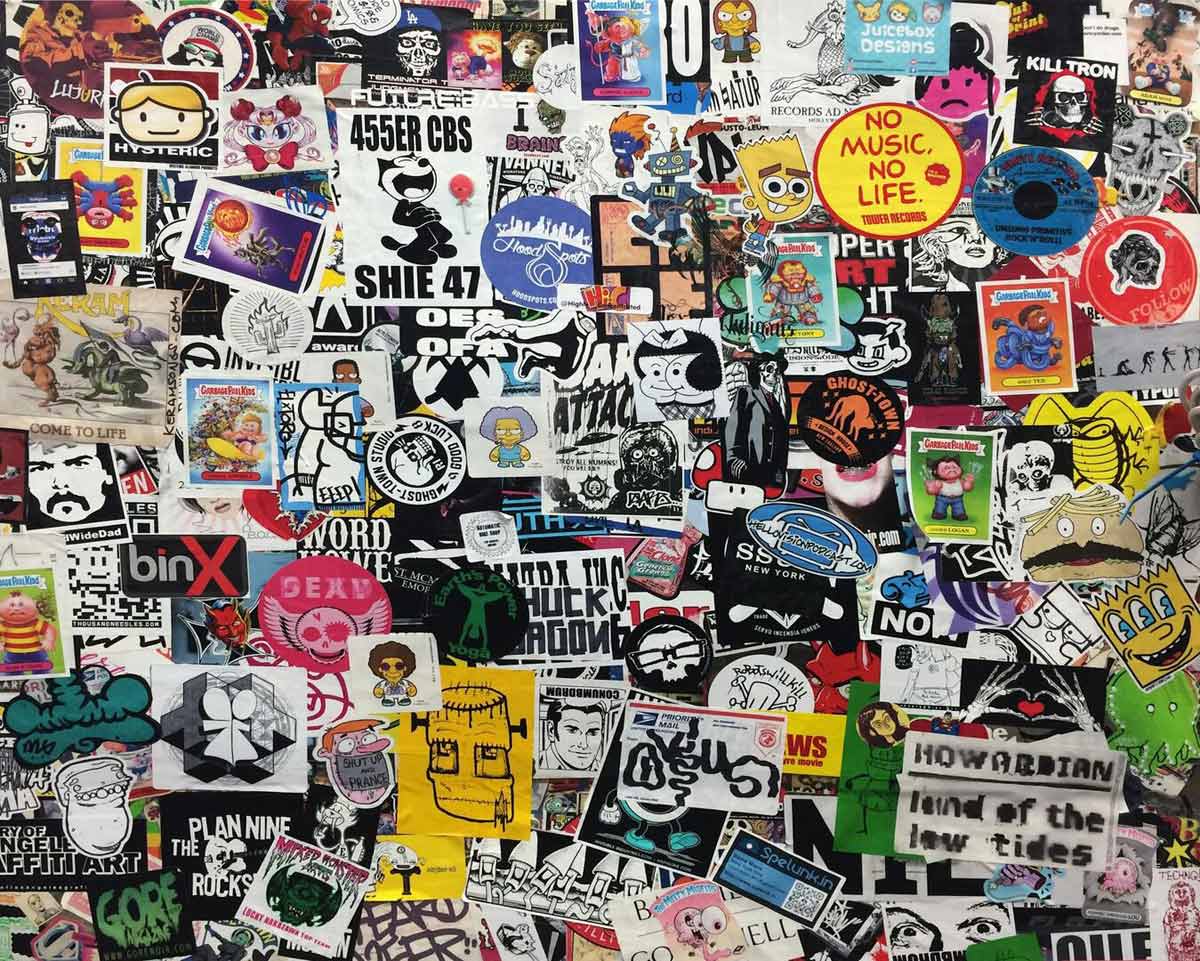
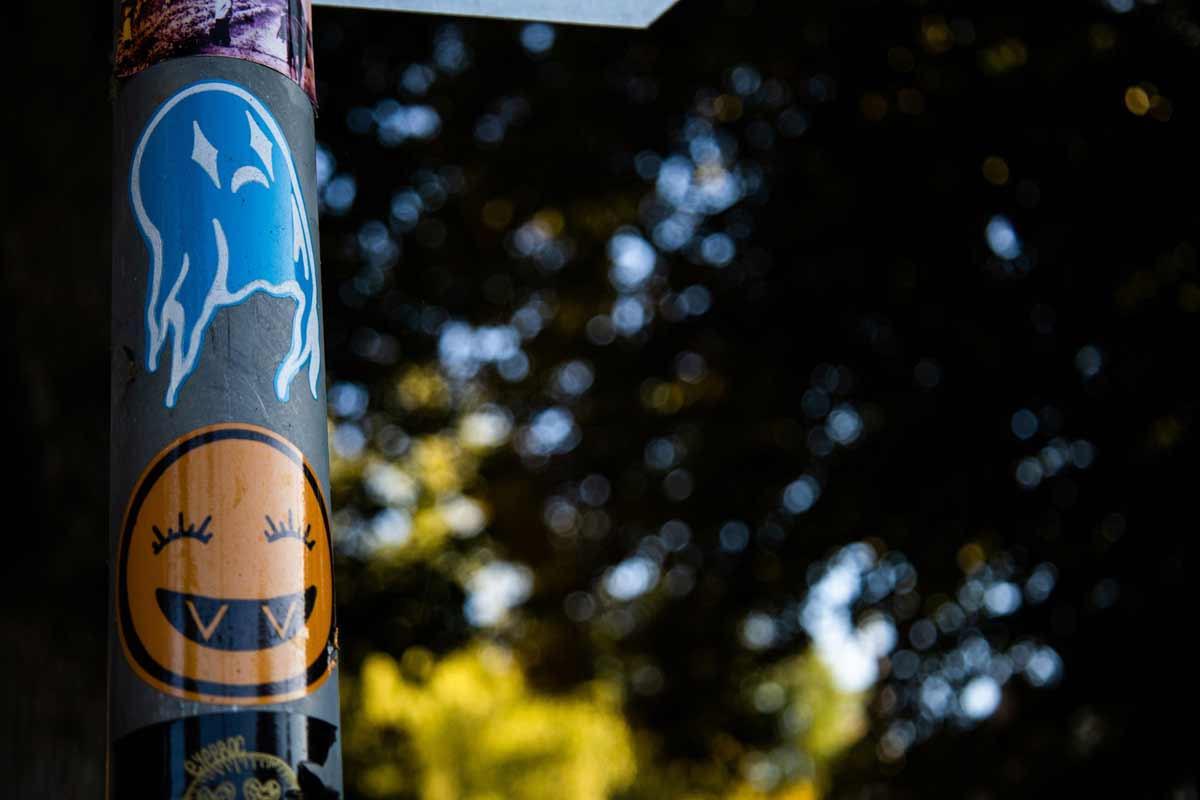
A stickerbomb is the art of decorating a surface with many overlapping stickers. The result is a lively, colorful surface full of graphics and sayings - just what the world of stickers has to offer. The roots of this art form lie in the early 1990s. Back then, street artists began designing their own stickers and applying them in urban spaces. In Europe an Italian design as a pioneer. Overlapping of the stickers already occurred early on for reasons of space, for example on pillars of lampposts or street signs. The first active practice of targeted overlapping, and thus sticker bombing, is thought to have been in the Japanese car tuner scene. For example, to save on the cost of painting add-on parts.
Due to the connection from
- Simplicity,
- low cost,
- high effect and
- Uniqueness of each sticker bomb
it quickly became a worldwide trend in all kinds of scenes. It is true that prefabricated foils exist today that represent sticker bombs in the form of large individual stickers. However, sports equipment only becomes truly unique when the owner takes the trouble to put it together himself - and that's really not difficult.
Step 1: Stickers - a lot of stickers
Sticker bombing sometimes means multiple overlaps without a visible background. Depending on the area and size of the stickers, three-digit quantities are therefore quickly required. And this is how it works:
- Stickers that you personally like less, as the bottom layer. They will be hardly visible later. For this purpose, large-area adhesives are suitable filler.
- Slightly nicer stickers, but also partially obscured, as the middle layer.
- A few stickers as special eye-catchers, where at most the edges still overlap a little.
For the lowest levels there are several ways. For example, special sticker collections exist as books or sheets, to which often several street artists contribute. Likewise, the used portals of the net are a source for sticker collections.
The top layer, however, should consist only of highlights that are exceptionally pleasing to the owner. So either ready-bought glue of special appearance or self-designed pieces for maximum individuality. The latter is easy to do with the appropriate (Adobe) programs and only requires a print service provider.
Important: If the sports equipment is used outdoors, the adhesives should be UV and weather resistant.
It is essential to sort the stickers into the respective categories before starting the project. This makes the practice much easier. By the way, it is of course possible to use only stickers of a certain color, if the conventional method is too colorful.
Step 2: Prepare the surface
Stickers for outdoor use usually have a very good adhesive. Nevertheless, the appearance and durability of the stickerbomb depend to the maximum extent on how well the substrate has been prepared. This refers to three things:
- Loose elements, such as dust,
- greasy residues and
- Humidity
It is essential to determine the resistance of the surface to the selected cleaning agents beforehand. Thus Acetone, for example, an excellent grease remover, but damages various plastics.
Important: It is essential to test the compatibility of the cleaning agent with the sports equipment or its paint on a concealed area.
For practical purposes, the following means are mostly suitable:
- Brake Cleaner,
- commercially available glass cleaner,
- Lighter fuel and
- Cleaning alcohols
On the one hand, it is important to dissolve greasy and sticky soiling, and on the other hand, to evaporate as quickly as possible. If mechanical cleaning is also necessary, a microfiber cloth should be used - it does not fluff. In addition, the Stickerbomb should be designed at a temperature of at least 15°C. Below that, many sticker materials are too stiff.
- the stickers of the lower layer and all gaps in between over the entire surface,
- and overlap each other to a maximum of about one quarter.

